The Problem:
External steel door frames fixed in brickwork are susceptible to corrosion. This is often caused by mortar being packed solid behind the frame right down to slab level. The mortar backing will soak up moisture from the slab and become saturated to about 200mm high. As this saturated mortar is hard up against the steel door frame the moisture triggers corrosion in the frame which can often completely destroy the bottom of the frame.
The Solution:
The only solution is to replace the steel door frame. The existing frame however has been built into the brickwork therefore cutting out the old frame and installing a new frame is a complex & time consuming task.
The best procedure for this task is as follows (based on a single skin of brickwork & non fire rated frame scenario):
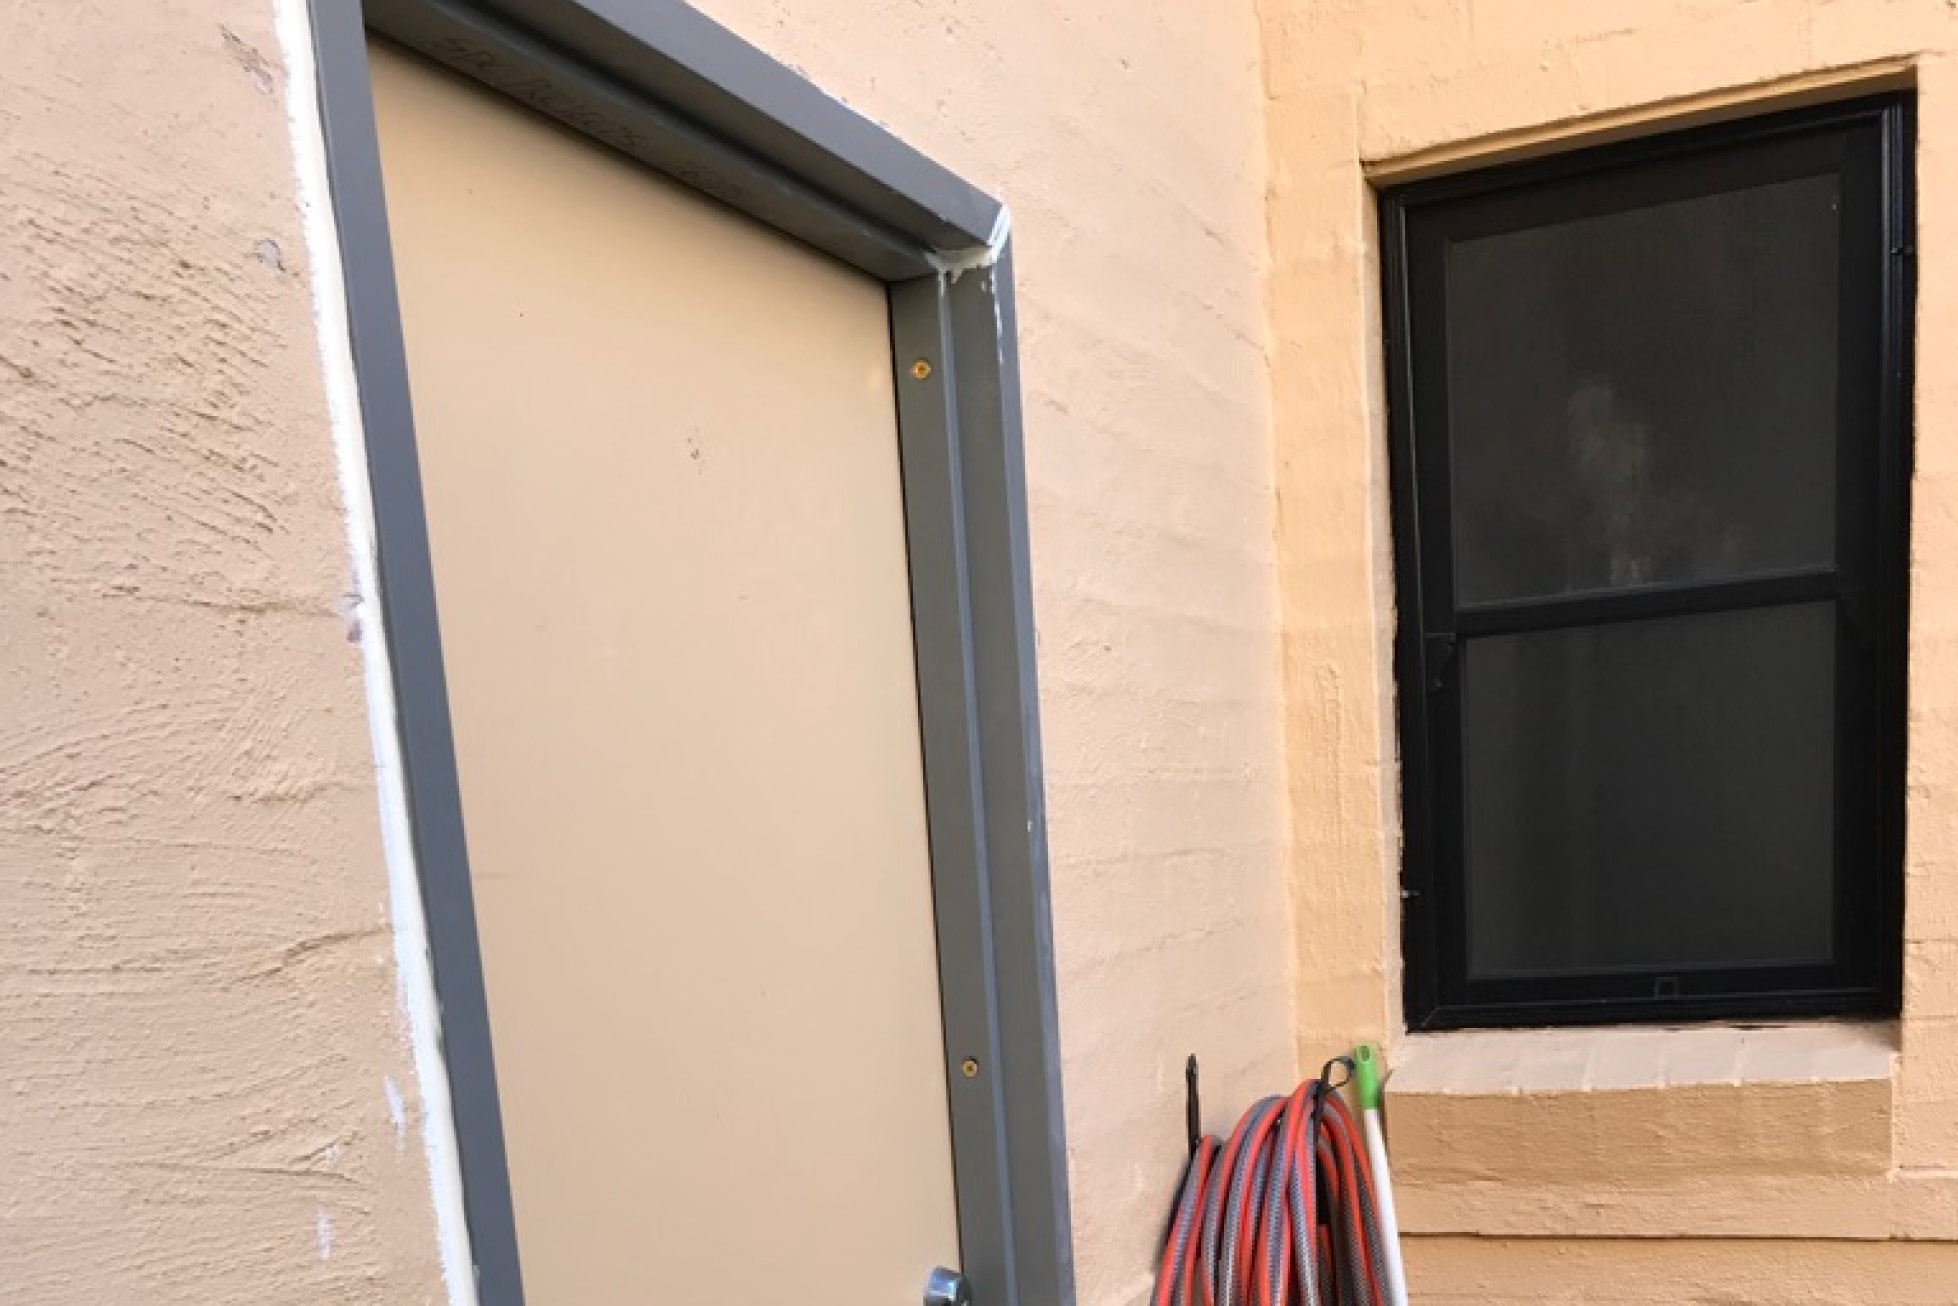
- Measuring up for the new frame: measure the existing frame with precise measurements particularly if you intend you reuse the door. You will need every existing dimension including frame profile, height, width, door size & thickness of brickwork. If you are reusing the door you will also need striker position, dimensions of the striker plate(s), hinge positions & size of hinges. The new frame will be fixed with exposed masonry anchors as seen in the attached photo. You must decide where these fixings are to be located on the frame and each fixing needs to line up with a brick joint. Typically, there would be four fixings per side. Measure the exact position of the brick joints for each fixing. It is important the new fixing lands on the centre of a brick joint as the bricks are likely to be hollow making fixing into a brick a much more difficult option.
- Ordering the new frame: the new frame needs to be supplied in 3 separate pieces which get screwed together once installed in it’s final position. This frame is called a ‘knock down frame’. The frame will be specially fabricated for your order and may need several weeks lead time. Don’t start removing the old frame until the new frame is delivered. You need to provide the door frame manufacturer with a simple sketch with all the dimensions and specify the following:
- A 15mm long x 25mm diam. tube welded behind each hole for the masonry anchor fixing. This tube will stop the frame crushing when fixed in position with the masonry anchor;
- 11mm diam. countersunk hole for each masonry anchor with a countersunk finish. The countersunk is provided by a 19mm diam. dimple punch;
- Welded hinges;
- The ‘handing’ of the door;
- Remove the old frame: prize off the bottom of the frame with a pinch bar. When the brick ties, holding in the frame, are exposed cut them off with a small angle grinder. Continue prizing off the frame until all the frame is removed. This is a difficult process but it will come off in the end. The frame is likely to be mortar filled full height behind the frame. Mark out where the new fixings are located and remove the mortar at these locations to allow for the tubes, welded to the back of the masonry anchor holes, to fit against the brickwork. Also remove mortar at the bottom of the frame so the new frame does not rust out the same way. Don’t remove any other mortar as it is needed to support the new frame in the right position.
- Install the new frame: Mark out the position for each masonry anchor and drill out the hole to suit a 10mm masonry anchor with a countersunk head x 100mm long. After all the holes are drilled put the frame in position, screw the frame together at the head, with screws provided by the frame manufacturer, then fix the frame to the brickwork with the masonry anchors. Sometimes you might find the there is a void in the brick joint where there should be mortar preventing the use of a masonry anchor. In this case cut out any mortar, fill with a timber plug and use a self tapping masonry screw with a countersunk head. Fix this screw with an impact driver;
- Rehang the door: all going well the existing door will line up with the hinge & striker positions allowing for a straightforward hanging of the door;
- Weather seal the frame: On completion seal the frame to the brickwork & seal the joints in the knock down frame to make weathertight then repaint as required.
Completed installation:


